Knowledge is like money; to be of value it must circulate, and in circulating it can increase in quantity and, hopefully, in value.
Some American author or something said that I think.
If you’ve dug around the menus to the left of this post, you’ve probably seen a section called “Camera Work > Photography” and an empty page. As part of a wager with a friend to increase the rate at which I publish posts, I’ve decided to begin sharing the gobbledygook that is photography tips oozing out of my brain. Let’s start with a very basic one.
Tricking Your Digital Camera
 Difficulty: Beginner/Easy
What’s needed: A digital camera or camera phone
Manual Override
For most people of this century, taking a photo no longer requires much thought. Sure, we think about how to compose (frame) our subject, whether it’ll be horizontal, vertical, or square, and what filter to throw onto it after taking the shot. But the rest of the technical stuff, the exposure (“brightness”), focus, ISO (light sensitivity), are more or less all determined by that computer inside of your device, churning algorithms and using sensors to determine what’s “best” for your shot.
But the calculated “best” isn’t always the best for you.
The Scenario
It’s the middle of a warm, sunny summer day and you’re sitting in Starbucks enjoying your nice and cool venti, java chip frappuccino. Suddenly, you realize you just have to share a snap of it to your friends because the barista has comically misspelled your name. “Maybe it’ll end up on 9GAG,” you think to yourself.
You whip out your trusty iPhone 5S, open the Camera app, and quickly tap the shutter button.
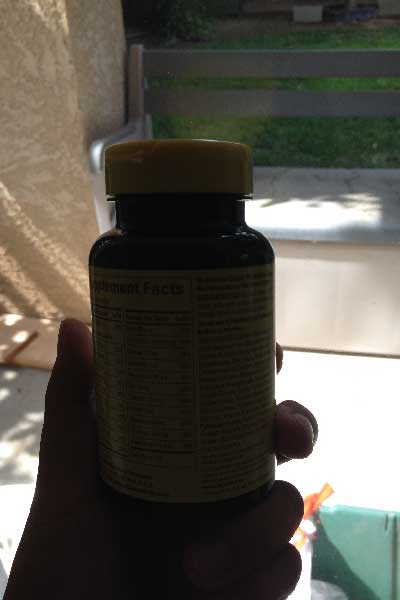
This is probably what you end up with:

(Just pretend the bottle of vitamins is a Starbucks frap)
The background is nicely exposed, but you can’t make out much of your cup besides its dark silhouette.
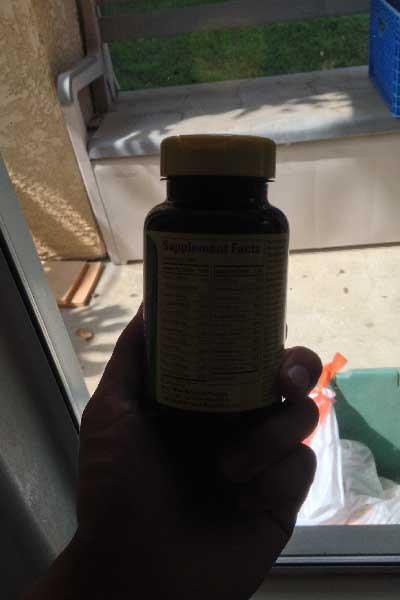
Turning on HDR doesn’t make too much of a difference either as you can see; it just reduces the brightness of the background based on an algorithm of how bright the image should be overall:

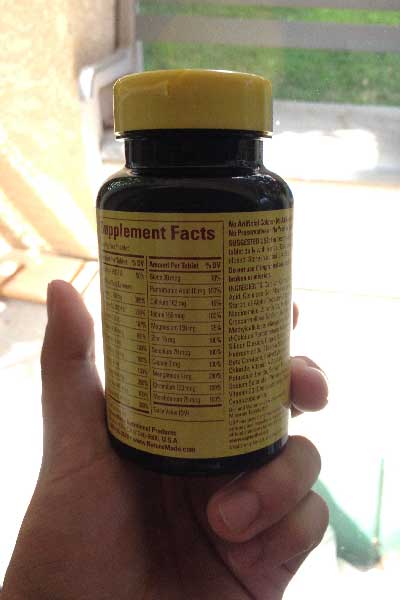
But if you know what you’re doing, you can outsmart the computer and produce something like this:

Yup, “Supplement Facts” definitely sounds like “Joe”.
Taking Control
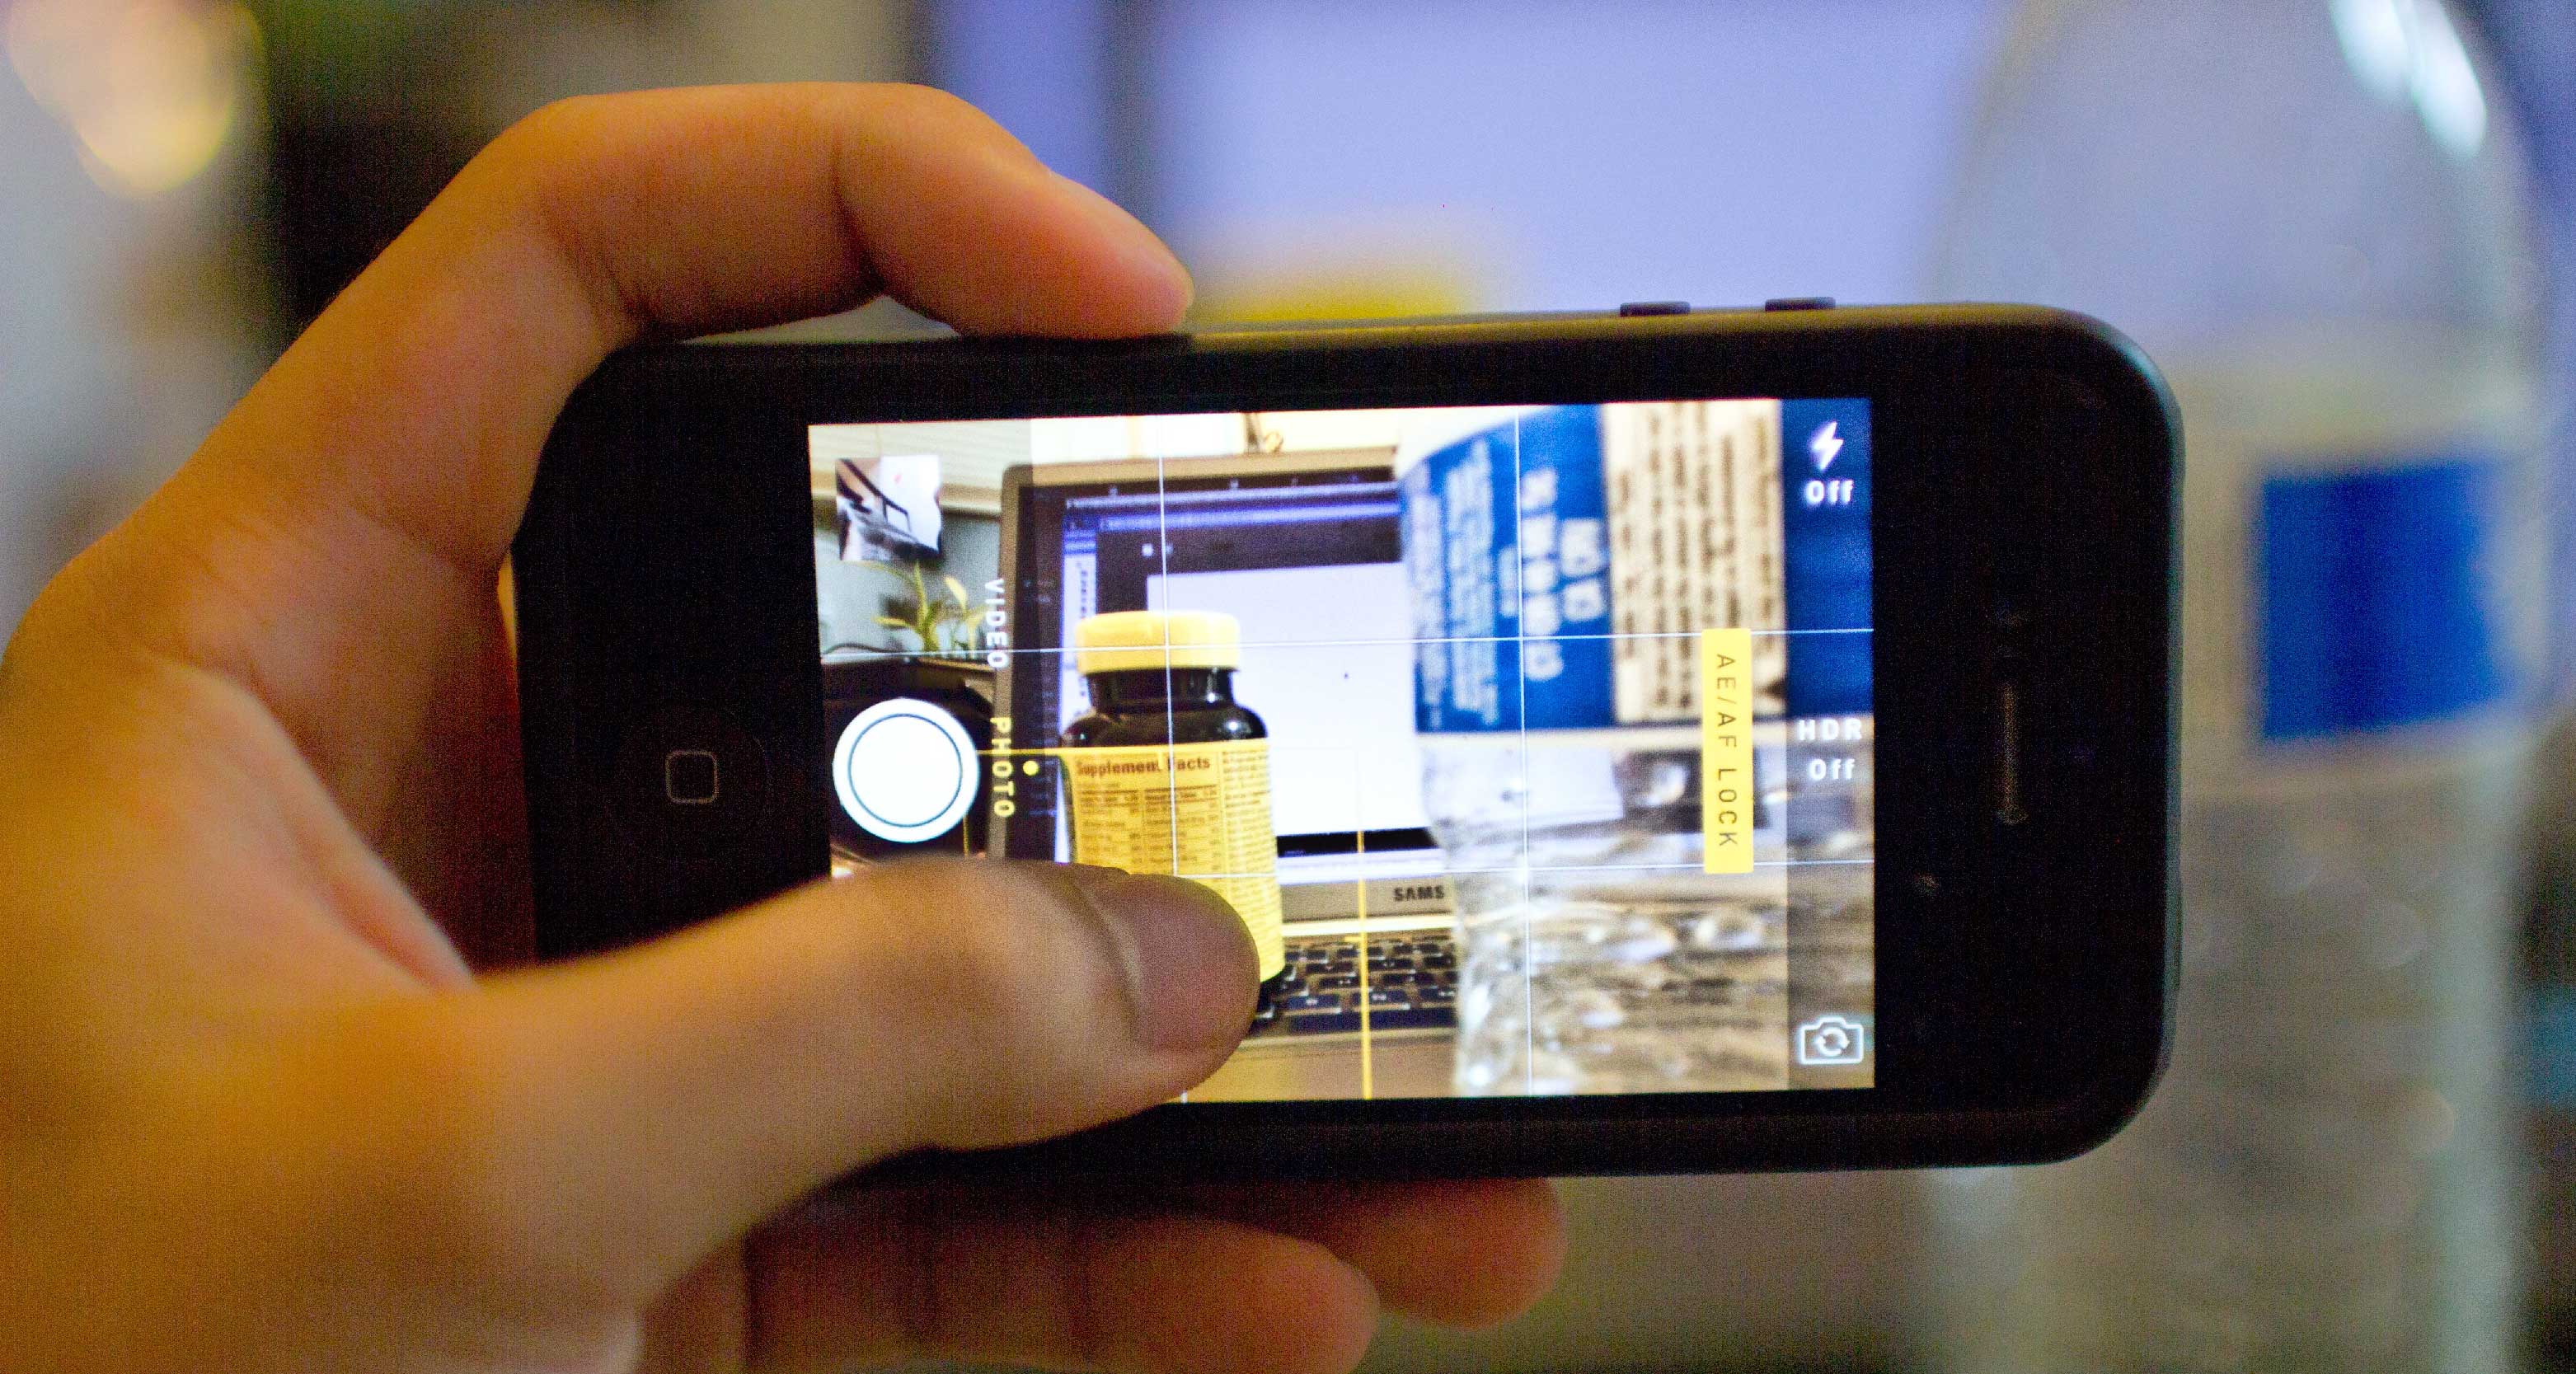
The “hack” for this is really simple, and I’m sure you and many others know how to do this. Apple introduced one-tap focus with the iPhone 4, which made it so you could tap anywhere within the viewfinder and the camera would attempt to acquire the correct focus for the subject you tapped on. Additionally, it would attempt to adjust exposure, white balance, and light sensitivity to “properly” capture the area which you tapped.
Thus, if I simply tap on my bottle, I can achieve something like the third photo above, without even turning on HDR.
Application to Compact Digital Cameras and dSLRs
But as I said, most of you already know about the tap-focus feature for iPhones and many other camera smartphones on the market. You can take it one step further however with your point-and-shoot compacts or those dSLRs you seem to be content with keeping on Auto or No-Flash mode.
Excluding those newer cameras with their fancy touch screens, you can’t tap to focus on compact cameras or dSLRs. Instead, you end up pointing your lens at a scene, and the computer inside your camera tries to figure out what’s going on in your scene, and chooses what it thinks is your subject. With newer cameras, the camera might select one or all of several auto-focus points around the screen at its own volition.
Let’s take a look again at our Starbucks cup scenario. If you held that cup close enough to the lens so that it filled most of the viewfinder, the camera’s computer might dismiss it and think whatever’s outside is more important; maybe your car parked outside which has plenty of detail and contrast lines. So now you’re stuck again with a photo where your frappuccino is obscurely dark, but hey, your car looks nice. Maybe that’s what you actually wanted to send to your bro James.
Assuming this isn’t what you wanted, what you can do is trick the camera. Change the settings on your camera so there’s just one focus point, preferably in the center. Now point that central focus point at the cup, and the computer will then adjust its settings according to what makes the cup look best.
But what if you don’t want your cup to be in the center of your photo? Easy: frame the scene as you would like it and then point your camera at your subject. Press the shutter halfway, and then hold your finger there. Re-frame (or recompose) your scene to how you’d like it, and then press the shutter the rest of the way. (For some more intuitive dSLRs, an easier way to handle this is to also adjust the focus point in Live View with the directional pad next to the screen.)
And that, is how you trick your camera.
Here are some more examples:
I will talk about how to achieve a shot where “everything” is in correct exposure in a later post.
Questions? Better examples? Comment below!


